

Table of Contents
ToggleCorners get overlooked. Most homeowners focus on center walls, leaving those 90-degree angles bare or cluttered with furniture nobody uses. But corners, especially upper corners, offer valuable real estate for decor, storage, and vertical interest. They’re also easier to work with than you’d think, whether you’re mounting shelves, arranging art, or installing accent lighting. This guide walks through practical, tested corner wall decor ideas that add function and personality without requiring a full room redesign. From floating shelves to statement lighting, these solutions work for renters and owners alike.
Key Takeaways
- Corner wall decor transforms overlooked 90-degree angles into functional display and storage space, making efficient use of vertical real estate without disrupting room flow.
- Floating shelves, tiered units, and corner cabinets are practical corner shelving solutions that combine style and function while keeping wall anchors mounted securely into studs.
- Corner-wrapping art installations and asymmetric gallery walls create visual movement by playing with depth and layering around the corner geometry, viewed best at eye level (57–60 inches).
- Vertical plants and living walls soften corners while adding organic texture; most houseplants require medium indirect light and proper moisture protection behind mounted panels.
- Corner lighting fixtures like sconces, LED strips, and uplights add drama and layer illumination; LED bulbs are safer and cooler-running than incandescent options for enclosed corner spaces.
- DIY corner decor projects—from triangular plywood shelves to pegboard organizers—can be completed in a weekend using basic tools and deliver high visual impact with manageable effort.
Why Corner Walls Are Your Home’s Most Underutilized Design Opportunity
Corners create dead zones in most rooms. Standard furniture rarely fits flush into a 90-degree angle, and flat-hanging art doesn’t engage the corner geometry. That leaves awkward gaps that collect dust or get ignored entirely.
But corners also offer advantages. They create natural framing for decor elements, drawing the eye upward and outward. In small rooms, vertical corner installations make efficient use of limited square footage without blocking pathways. Upper corners in particular stay out of the way of daily traffic while still contributing to the room’s visual balance.
From a practical standpoint, corners are structurally sound mounting locations. Interior corner walls typically meet at studs or blocking, giving you solid anchor points for shelves, cabinets, or heavy art. Always use a stud finder to confirm framing location before drilling, drywall anchors alone won’t support much weight, especially in corners where leverage amplifies load.
The key is treating corners as intentional design elements rather than leftover space. That shift in perspective opens up options for shelving, plants, lighting, and art configurations that wouldn’t work on a flat wall.
Corner Shelving Solutions That Combine Style and Function
Corner shelves solve two problems at once: they add display or storage capacity while filling visual voids. The trick is choosing the right shelf style for your wall type and load requirements.
Floating corner shelves use hidden brackets or keyhole mounts to create a clean, hardware-free look. They work best for lightweight items, books, small plants, or decorative objects under 15 pounds per shelf. Install them into wall studs whenever possible. If studs don’t align, use toggle bolts rated for the combined weight of shelf plus contents.
Tiered corner shelf units stack multiple levels in a zigzag or spiral pattern. These come as prefab units (metal, wood, or acrylic) or can be built from individual shelves spaced 10–14 inches apart. They’re ideal for displaying collections or creating a mini library in tight spaces.
For functional storage, consider corner cabinets with doors. These work especially well in kitchens, bathrooms, or home offices where you need to hide clutter. Wall-mounted corner cabinets should attach to at least one stud on each adjoining wall. Use 3-inch wood screws through the cabinet back into framing, not just drywall.
When planning shelf placement, measure from the floor up and mark level lines on both walls. Corners amplify any tilt or misalignment, so take extra time with a 4-foot level or laser level to ensure shelves read as horizontal.
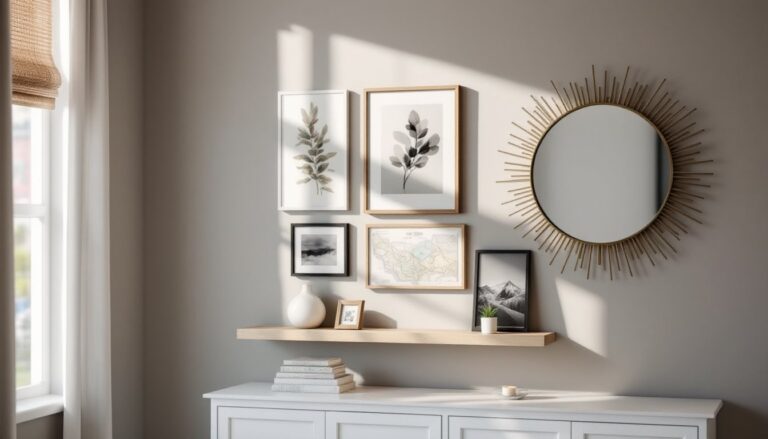
Floating Corner Shelves for a Modern Minimalist Look
Floating shelves eliminate visible brackets, giving corners a streamlined appearance that suits contemporary and Scandinavian interiors. The shelf itself slides over a steel rod or cleat mounted into the wall, hiding all hardware.
Installation requires precision. Locate studs on both walls using a stud finder. If corner studs don’t align with your desired shelf position, you’ll need heavy-duty drywall anchors rated for at least 50 pounds each. Drill pilot holes, insert the mounting rod or cleat, and check for level before tightening screws.
Material choice affects both aesthetics and load capacity. Solid wood shelves (oak, walnut, maple) handle more weight than MDF or particleboard but cost more and require sealing or finishing. For a budget-friendly option, ¾-inch plywood with edge banding gives a clean look and supports moderate loads.
Keep floating corner shelves to 12–18 inches per side for best proportions. Larger shelves look heavy and compete with the corner rather than complementing it. Style them with odd-numbered groupings, three small succulents, a stack of books with one leaning object, or a single statement piece.
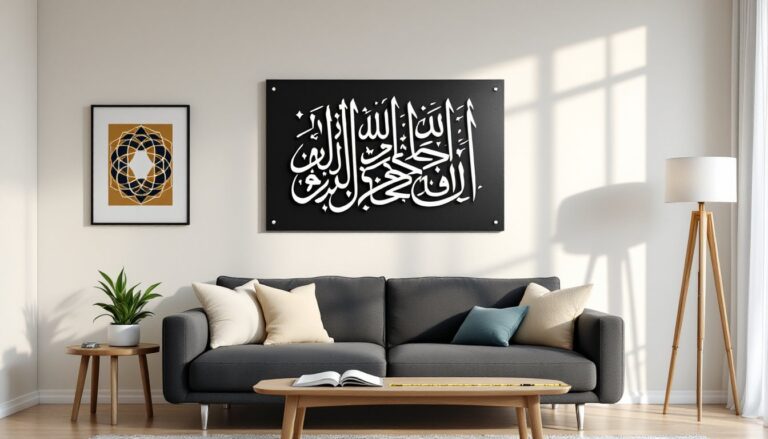
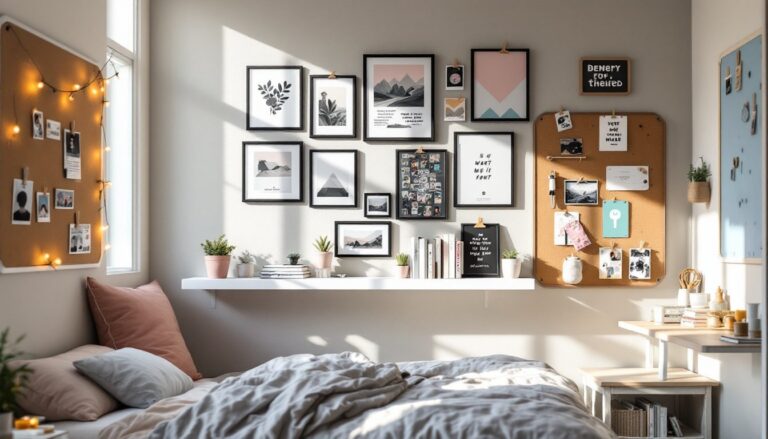
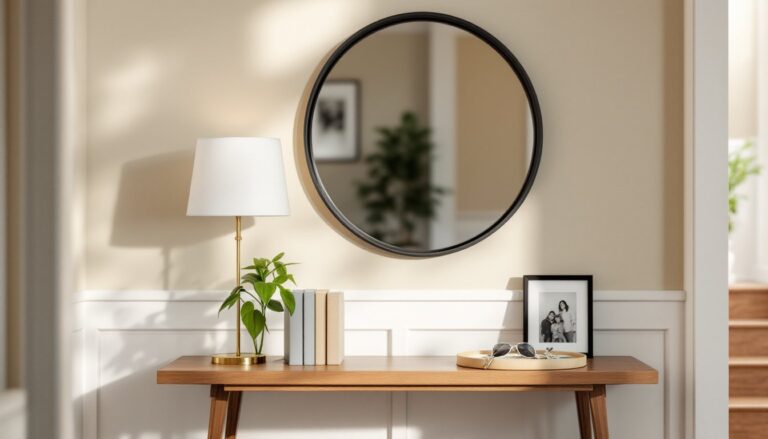
Statement Art and Gallery Walls Designed for Corners
Art in corners breaks the flat-wall monotony and creates visual movement. The geometry of a corner lets you play with depth and layering in ways that don’t work on a single plane.
One approach: corner-wrapping art installations where a large canvas or series of prints spans both walls. This works especially well with abstract pieces, panoramic photography, or diptychs/triptychs designed to be viewed around an edge. Align the center of the composition with the corner seam so the eye naturally follows the artwork across the angle.
Another option is the asymmetric corner gallery wall. Start with one anchor piece hung just off-center on one wall, then build out with smaller frames that cascade around the corner onto the adjacent wall. Use a mix of frame sizes and orientations (portrait, landscape, square) to create rhythm without rigidity. Lay the arrangement out on the floor first, then transfer measurements to the wall using painter’s tape as guides.
For three-dimensional interest, consider corner-mounted shadow boxes or floating frames. These project outward from the wall, adding depth while staying within the corner footprint. Mount them with D-ring hangers and wall anchors rated for the frame weight.
When hanging art in corners, account for viewing angles. People approach corners from multiple directions, so the art should read well from at least two sightlines. Avoid placing pieces too high, eye level (57–60 inches to the center of the artwork) still applies, even in corners. Proper installations often benefit from exploring design inspiration platforms to understand how spatial relationships impact composition.
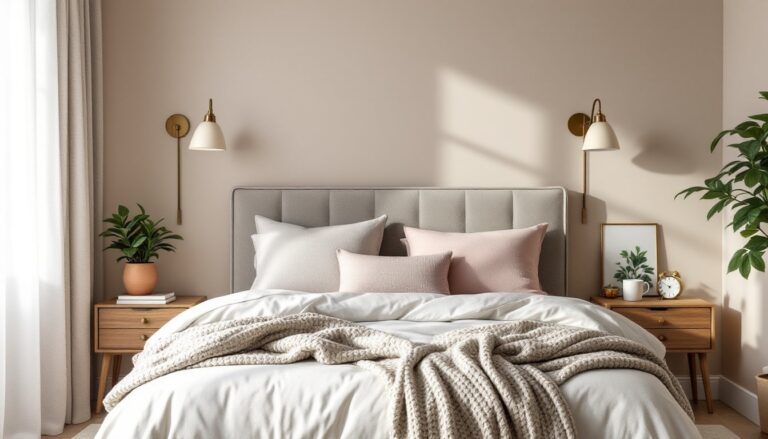
Corner Plants and Vertical Gardens That Bring Life to Empty Walls
Plants soften corners and add organic texture that contrasts nicely with hard angles. Vertical growth works especially well in corners, drawing the eye upward without consuming floor space.
Tall potted plants, fiddle-leaf figs, snake plants, or rubber trees, anchor a corner at floor level while filling vertical space. Use pots that are proportional to the plant height: a general rule is pot diameter about one-third the plant’s total height. Ensure the pot has drainage, and use a saucer or tray to protect flooring from moisture.
For wall-mounted greenery, corner plant shelves or tiered stands let you stack multiple plants in a compact footprint. The ideas found on corner shelf guides often emphasize vertical layering to maximize plant density without overcrowding.
If you’re comfortable with basic plumbing and carpentry, a living wall or vertical garden panel transforms a corner into a green focal point. Modular systems use pockets or trays that mount to a backing board. Install a moisture barrier (plastic sheeting or waterproof membrane) behind the panel to protect drywall. If the setup includes irrigation, route a ¼-inch drip line from a nearby water source and install a timer to automate watering.
Light is critical. Most houseplants need at least medium indirect light. If your corner is dim, add a full-spectrum LED grow light on a timer. Mount it 12–18 inches above foliage for leafy plants, or closer (6–12 inches) for succulents and cacti.
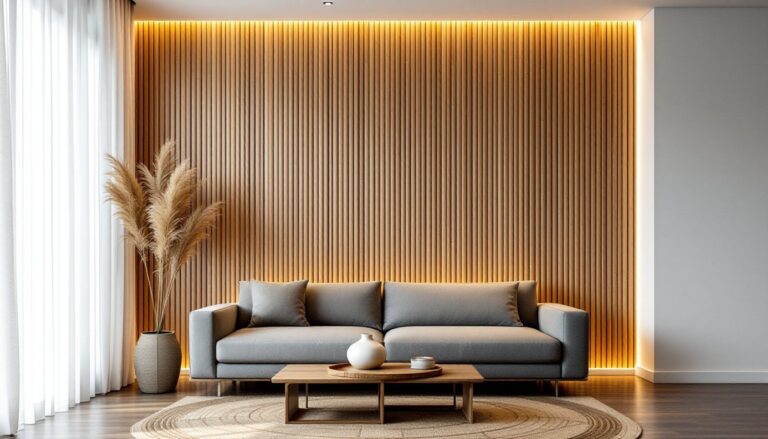
Lighting Fixtures That Turn Corners Into Focal Points
Lighting in corners adds drama and function. It highlights architectural features, fills dark zones, and creates layered illumination that’s more interesting than a single overhead fixture.
Corner sconces are classic and versatile. They flank the corner on both walls or mount directly in the corner seam using a corner-mount junction box. If you’re retrofitting, install a remodel box (also called an old-work box) rated for fixture weight. Run 14/2 or 12/2 NM cable from an existing switch or junction box, following local electrical code (NEC Article 334). Always shut off power at the breaker and use a non-contact voltage tester before working on wiring.
For renters or quick updates, plug-in wall sconces with cord covers avoid the need for new wiring. Mount the fixture with drywall anchors, then run the cord down the wall inside a paintable cord channel for a cleaner look.
LED strip lights installed along the vertical corner seam create a modern accent. Use aluminum channels to diffuse the LEDs and give a finished edge. Most strips are peel-and-stick, but for permanent installations, add a dab of construction adhesive every 12 inches to prevent sagging over time.
Corner floor lamps or uplights are the simplest option, no installation required. Position a slim lamp tight into the corner and aim the light upward to wash both walls. This works particularly well with textured walls or accent wall treatments that benefit from grazing light.
Be mindful of fixture heat. Incandescent and halogen bulbs can scorch walls or damage nearby decor. LED bulbs run cooler and last longer, making them the safer choice for enclosed or corner-mounted fixtures.
DIY Corner Decor Projects You Can Complete This Weekend
Most corner decor projects require only basic tools and moderate skill. Here are a few that deliver high impact with manageable effort.
Project 1: Triangular corner shelf from plywood. Cut two identical right triangles from ¾-inch plywood, 12 to 18 inches per side works for most corners. Sand edges smooth and apply stain or paint. Mount using L-brackets screwed into studs on both walls. Add a second shelf 10–12 inches above the first for a tiered look. Total time: 2–3 hours.
Project 2: Pegboard corner organizer. Cut a pegboard panel to fit your corner (trim to 45-degree angles where it meets each wall). Paint it to match or contrast with the wall color. Mount with 1-inch spacers behind the board so pegboard hooks have clearance. Use wood screws into studs or heavy-duty anchors. Hang baskets, hooks, or small shelves for functional storage. Total time: 1–2 hours.
Project 3: Corner photo ledge. Rip a 1×4 board to create a narrow ledge (about 2–3 inches deep). Cut two pieces to span each wall from corner to desired endpoint. Miter the ends at 45 degrees where they meet in the corner for a clean joint. Attach with finish nails and wood glue into wall studs, or use a French cleat for easier removal. Paint or stain to match trim. Lean framed photos or art on the ledge. Total time: 1 hour.
Project 4: Macramé or hanging plant corner display. Install a ceiling hook or toggle bolt in the corner ceiling. Hang macramé plant hangers at staggered heights (use S-hooks or carabiners for easy adjustment). Fill with trailing plants like pothos or string of pearls. No power tools required. Total time: 30 minutes.
For all projects, wear safety glasses when cutting or drilling, and use a dust mask when sanding. Measure twice, cut once, corner angles amplify small errors. Many of these ideas expand on broader wall decor strategies adapted specifically for corner geometry.
Additional design variations and material ideas can be explored through platforms like homify, which showcase real-world installations across different room types and budgets.