

Table of Contents
ToggleWall baskets have evolved from purely functional storage into statement pieces that add warmth, dimension, and texture to blank walls. Unlike flat art or framed prints, baskets bring a tactile, three-dimensional quality that catches light and creates visual interest from multiple angles. They work equally well in modern farmhouse kitchens, bohemian bedrooms, and minimalist entryways. Best of all, they’re affordable, lightweight, and easy to install without major wall damage, making them ideal for renters and homeowners alike who want impact without commitment.
Key Takeaways
- Wall baskets decor transform blank walls with texture and dimension at an affordable price point of $15–$60 per basket, making them ideal for renters and budget-conscious homeowners.
- Proper sizing and material selection matter: aim for 18–24 inches in diameter for single statement pieces, and choose lightweight seagrass or jute for easy installation or heavy rattan for bohemian spaces.
- Intentional arrangement creates visual impact—use the triangle rule for three baskets, gallery clusters for five or more, or horizontal and vertical lines to guide the eye based on wall shape.
- Secure installation varies by weight: baskets under 2 pounds use picture nails, medium baskets (2–4 pounds) need drywall anchors, and heavy pieces require screws driven into studs.
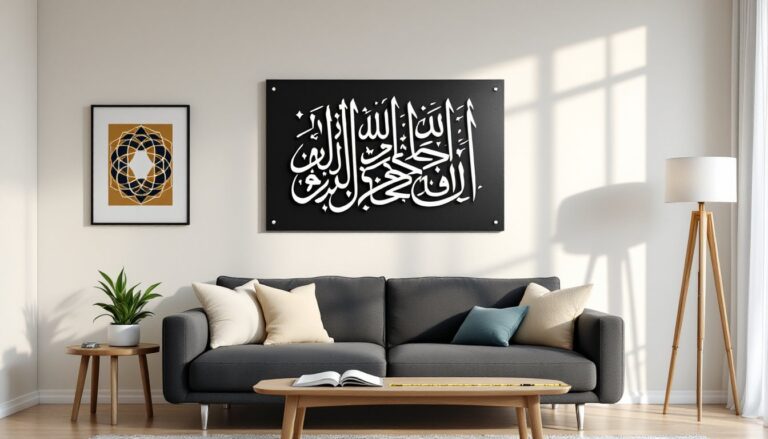
- Room-specific placement enhances decor—avoid moisture-prone areas like above stoves or showers, and use wall baskets decor as focal points above sofas, beds, or in entryways for maximum visual interest.
Why Wall Baskets Are the Trending Decor Choice for Modern Homes
Wall baskets hit the sweet spot between functional and decorative. They’re not just Instagram-friendly, they solve real design problems.
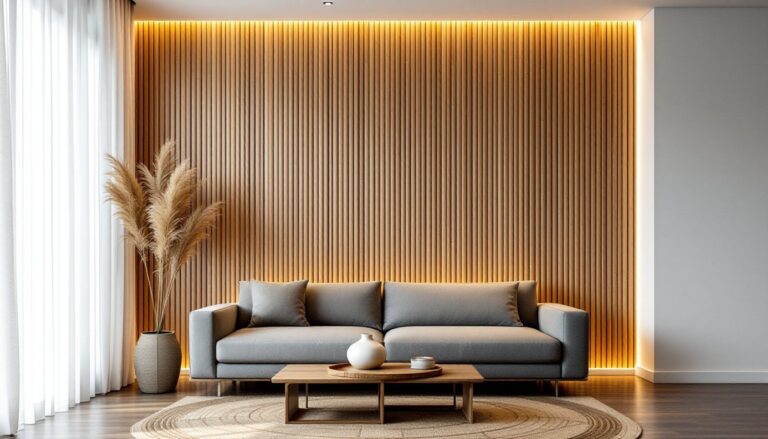
First, they add texture in spaces dominated by smooth drywall and flat finishes. Woven materials like seagrass, rattan, and jute create depth that paint alone can’t deliver. This tactile quality makes rooms feel layered and curated rather than one-dimensional.
Second, baskets are versatile. They work as solo statement pieces above a console table or in clusters to fill large blank walls. Unlike rigid gallery frames, they can be rearranged seasonally or as your style evolves.
Third, they’re affordable. Quality woven baskets range from $15 to $60 each, significantly less than framed art or custom shelving. For DIYers on a budget, this means achieving a high-impact look without a high-impact price tag.
Finally, they’re renter-friendly. Most wall baskets can be hung with small nails, picture hooks, or adhesive strips, leaving minimal wall damage. This makes them perfect for temporary spaces or anyone hesitant to commit to permanent decor changes.
Choosing the Right Wall Baskets for Your Space
Not all baskets belong on walls. Look for designs specifically made or suitable for wall mounting, they’re typically flatter (think charger plates rather than deep storage bins) and have built-in loops, hangers, or flat backs.
Size matters. Measure your wall space first. A common mistake is choosing baskets that are too small for the wall, making them look like afterthoughts. For a single statement piece, aim for 18-24 inches in diameter on a standard 8-foot wall. For gallery clusters, mix sizes: combine 12-inch, 16-inch, and 20-inch baskets to create visual rhythm.
Weight is critical for installation. Heavier woven baskets (2-4 pounds) need proper anchoring. Lightweight seagrass or reed baskets can hang on adhesive hooks or small finish nails, while heavier wood or thick rattan pieces require wall anchors or screws into studs. Check the basket’s weight before buying, it affects both cost and installation complexity.
Materials and Styles to Consider
Seagrass and jute offer a natural, coastal vibe. They’re lightweight, affordable, and pair well with neutral palettes. Expect to pay $15-$30 per basket.
Rattan and wicker bring a bohemian or vintage feel. These are slightly heavier and more structured, with tighter weaves. They work well in eclectic or globally inspired spaces. Price range: $25-$50.
Woven raffia or palm leaf baskets have a more organic, artisanal look. Often handmade, they feature irregular patterns and earthy tones. These are popular in DIY home decor projects that emphasize texture. Expect $30-$60 each.
Metal wire baskets offer an industrial or modern farmhouse aesthetic. While not traditional “woven” baskets, they’re trending for kitchens and laundry rooms. They’re the heaviest option and require screws or toggle bolts.
Color choices: Natural tones (tan, cream, brown) are timeless and versatile. Dyed baskets in black, white, or muted colors can make bold statements but limit future flexibility. Stick with neutrals unless you’re committed to a specific color scheme.
Creative Ways to Arrange Wall Baskets for Maximum Impact
Arrangement makes or breaks basket decor. Random placement looks accidental: intentional groupings look curated.
The Triangle Rule works for three baskets of varying sizes. Place the largest basket as your anchor point (usually center or slightly off-center), then position the two smaller baskets to form an imaginary triangle. This creates balance without symmetry. Space baskets 6-12 inches apart to let each piece breathe.
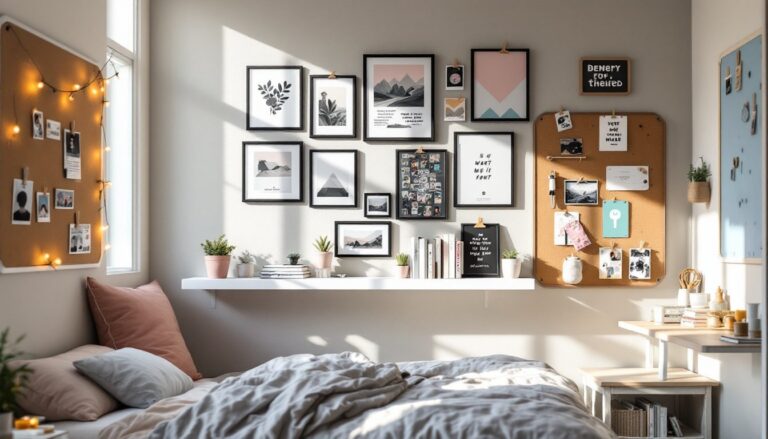
Gallery wall clusters use five or more baskets. Lay them out on the floor first, arranging and rearranging until the composition feels balanced. Take a photo with your phone from above, this becomes your installation map. Aim for varied sizes and slight overlaps (1-2 inches) to create cohesion.
Horizontal lines suit narrow wall spaces like hallways or above furniture. Hang three to five baskets in a straight row at the same height, varying diameters to add interest. This works especially well above sofas, beds, or console tables.
Vertical stacks maximize tall, narrow walls. Hang baskets in a vertical column with consistent spacing (8-10 inches between edges). This draws the eye upward and makes ceilings feel higher.
Mix shapes and textures. Combine round baskets with oval or hexagonal designs. Pair tightly woven pieces with looser, more open weaves. This variety prevents monotony and adds depth. Many home crafting projects incorporate mixed media for this reason.
Room-by-Room Wall Basket Decor Ideas
Living rooms: Hang a cluster of baskets above the sofa or fireplace mantel. Choose neutral tones that complement existing furniture. For modern spaces, stick with three to five baskets in similar tones. For eclectic rooms, mix materials and add one or two colorful pieces.
Kitchens: Wall baskets work beautifully in breakfast nooks or on open walls near dining areas. Avoid hanging them directly above stoves or sinks where grease and moisture accumulate. Flat, plate-style baskets are easier to clean than deeply textured ones.
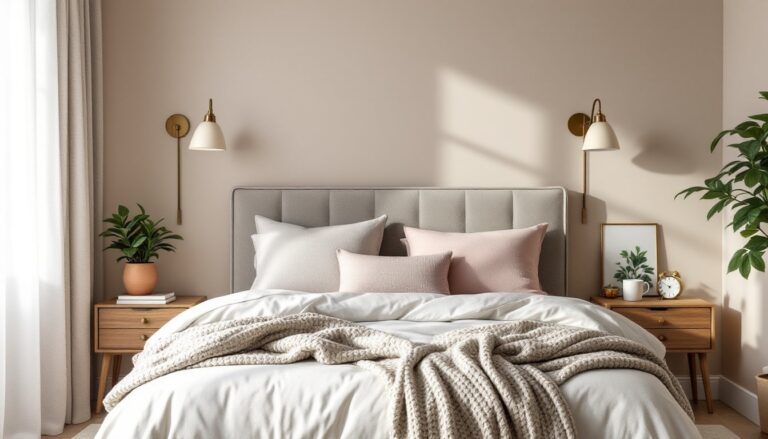
Bedrooms: Create a soft, bohemian headboard alternative by arranging baskets above the bed. Stick with calming, natural tones. For a minimalist look, use a single oversized basket (24-30 inches) as a focal point.
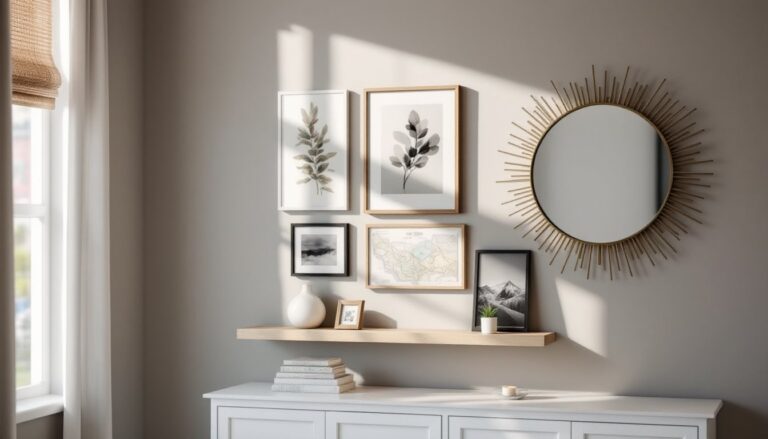
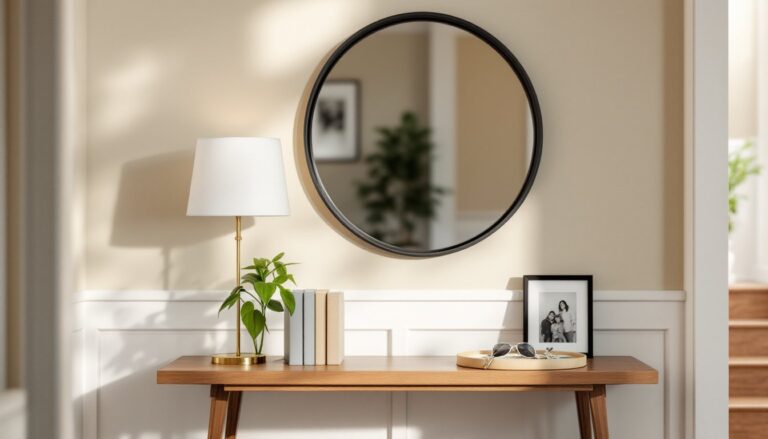
Entryways: A single statement basket or small cluster adds warmth to narrow entry walls. Pair with a console table and mirror for a complete vignette. Keep arrangements simple in tight spaces, one to three baskets maximum.
Bathrooms: Use sealed or water-resistant baskets (like painted or lacquered wicker) in bathrooms. Avoid natural fibers near showers or tubs where humidity causes mold. Small baskets (8-12 inches) work best in tight powder rooms.
Home offices: Baskets soften hard-edged furniture and tech equipment. Hang a small cluster on the wall behind your desk or above shelving units. They add warmth without distracting from work.
DIY Wall Basket Installation: Step-by-Step Hanging Guide
Proper installation prevents baskets from falling and damaging walls. Here’s how to hang them securely.
Tools and materials you’ll need:
- Tape measure
- Pencil
- Level (a small torpedo level works fine)
- Hammer
- Picture-hanging nails or small screws with wall anchors (for drywall)
- Stud finder (if baskets are heavy)
- Adhesive hooks (optional, for lightweight baskets under 1 pound)
- Safety glasses (when drilling or hammering)
Step-by-step process:
-
Plan your layout. Arrange baskets on the floor in your desired pattern. Measure the total width and height of the grouping. Mark the center point of your wall space with a light pencil mark.
-
Mark hanging points. Start with the center or largest basket. Hold it against the wall at your desired height (eye level is typically 57-60 inches from the floor to the basket’s center). Mark where the hanger or loop sits behind the basket. Use a level to ensure it’s straight.
-
Locate studs for heavy baskets. If a basket weighs more than 2 pounds, use a stud finder to locate wall studs. Screws driven into studs hold significantly more weight than drywall anchors. Standard studs sit 16 inches on center in most residential construction.
-
Install hangers. For lightweight baskets (under 2 pounds), use picture-hanging nails driven at a 45-degree angle. For medium-weight baskets (2-4 pounds), use drywall anchors rated for 10-15 pounds. For heavy baskets (over 4 pounds), drive 1.5-inch screws directly into studs.
-
Hang and adjust. Place the basket on its hanger and step back to check level and spacing. Make minor adjustments by gently repositioning. If a basket tilts, add a small adhesive bumper (felt pads work) to the lower edge to level it.
-
Repeat for additional baskets. Work outward from your center piece, checking spacing and level with each addition. Stand back frequently to assess the overall composition.
Safety tip: Always wear safety glasses when hammering or drilling overhead. Drywall dust and debris can fall directly into your eyes.
Pro tip: For renters or anyone avoiding wall holes, Command Picture Hanging Strips work well for baskets under 1 pound. Follow package weight limits exactly, overloading adhesive strips causes falls and wall damage. Clean the wall with rubbing alcohol before applying strips for maximum hold.
Conclusion
Wall baskets offer an accessible entry point into textural, dimensional decor without the commitment or cost of permanent installations. With proper material selection, thoughtful arrangement, and secure mounting techniques, they transform blank walls into layered, curated focal points. The key is measuring twice, planning layouts before hammering, and choosing baskets scaled appropriately to the wall space.