

Table of Contents
ToggleCircle mirrors have become one of the most versatile and accessible tools in modern wall decor. Unlike ornate, heavy frames or trendy geometric shapes that come and go, round mirrors offer a clean silhouette that works in nearly any room. They bounce light, create focal points, and soften the hard angles that dominate most residential architecture. Whether someone’s working with a narrow hallway, a cluttered entryway, or a bedroom that feels flat, a thoughtfully placed circle mirror, or a cluster of them, can shift the entire mood of the space without requiring drywall demolition or a contractor.
Key Takeaways
- Circle mirror wall decor softens hard architectural angles and bounces light more evenly than rectangular mirrors, making them ideal for any room style from modern to farmhouse.
- For solo mirrors, choose a size that’s 50–75% of the furniture width below it; a 60-inch sofa pairs best with a 30–45-inch round mirror to avoid undersizing.
- Multi-mirror clusters work best with 2–4 inches of spacing between pieces and varied sizes (anchor, medium, and accent pieces) rather than rigid symmetrical grids.
- Always use mechanical fasteners (toggle bolts, molly bolts, or wood screws into studs) for mirrors over 10 pounds; adhesive pads alone risk failure over time.
- Position circle mirrors to reflect light sources and appealing views while avoiding clutter; a round mirror opposite a window amplifies natural brightness and opens up narrow spaces.
Why Circle Mirrors Are Perfect for Modern Wall Decor
Round mirrors lack the sharp corners and rigid lines that can make a space feel boxy or formal. That softness is particularly useful in rooms dominated by 90-degree angles, think standard door frames, baseboards, and window casings. A circle breaks up that monotony without clashing.
Circular shapes also distribute reflected light more evenly than rectangular mirrors. There’s no harsh corner glare, and the eye travels smoothly around the perimeter. This makes them ideal for layering: a single 36-inch round mirror can anchor a wall, or a set of smaller 8- to 12-inch rounds can be arranged asymmetrically to fill dead space.
Another advantage is neutrality. Circle mirrors pair equally well with mid-century modern furniture, farmhouse shiplap, or minimalist Scandinavian interiors. They don’t demand a particular aesthetic, which is why they show up in everything from boutique hotels to suburban living rooms. And because they’re available in materials ranging from plain frameless glass to brass-rimmed or black metal-edged styles, they adapt to almost any color palette or finish scheme.
Popular Circle Mirror Wall Decor Styles and Trends
Frameless rounds remain the go-to for minimalists. These are typically beveled-edge mirrors with polished perimeters and no visible frame. They mount flush to the wall using adhesive pads or Z-clips, creating a floating effect. Expect 1/4-inch glass thickness for durability.
Metal-rimmed mirrors bring a bit more presence. Brass and brushed gold frames lean warm and vintage: matte black or gunmetal skew industrial. Frame profiles range from thin (1/2 inch) to chunky (2 inches or more), and the choice affects visual weight. A 1-inch black metal rim on a 24-inch mirror feels modern without overwhelming a gallery wall.
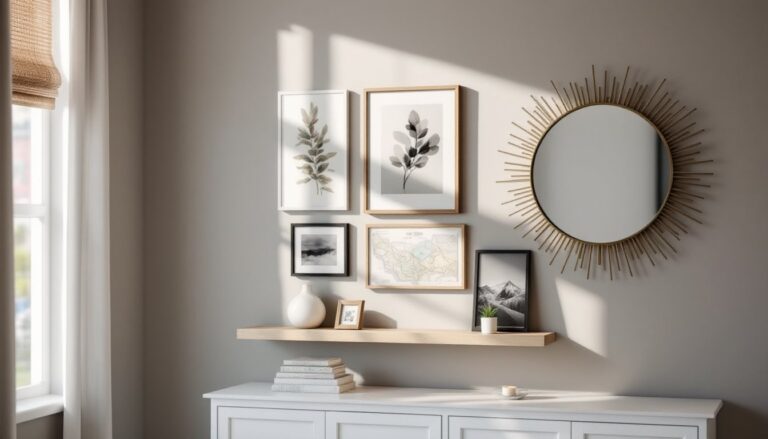
Multi-mirror clusters are trending hard right now. These sets typically include five to nine circles in graduated sizes, say, three 10-inch rounds, four 6-inch rounds, and two 4-inch accents. The mirrors mount individually, allowing custom layouts. This approach works well over sofas, beds, or in stairwells where a single large mirror would feel static.
Sunburst and rattan-wrapped styles add texture. Sunburst mirrors feature radiating metal or wood spokes around a central round glass: rattan or wicker wraps offer a coastal or bohemian vibe. Both introduce dimension but require more wall real estate, plan for at least 30 inches of clearance around the outer edge to avoid a cramped look.
Best Rooms and Placements for Circle Mirror Arrangements
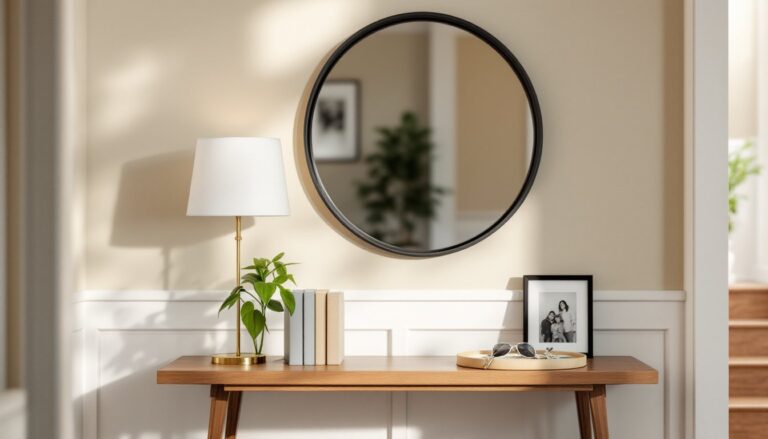
Entryways and hallways benefit most from circle mirrors. Narrow corridors often lack natural light and feel tunnel-like. A 24- to 30-inch round mirror placed opposite a window or light source doubles the perceived brightness. In an entryway, mount it above a console table at eye level (60 to 65 inches to the center of the mirror) so it’s functional for quick checks before heading out.
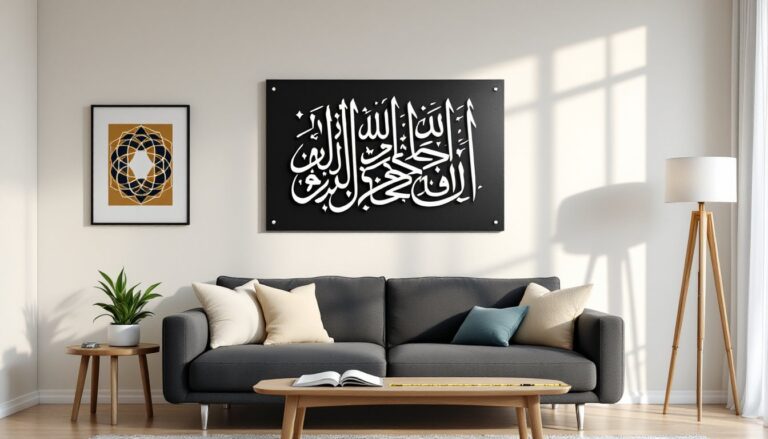
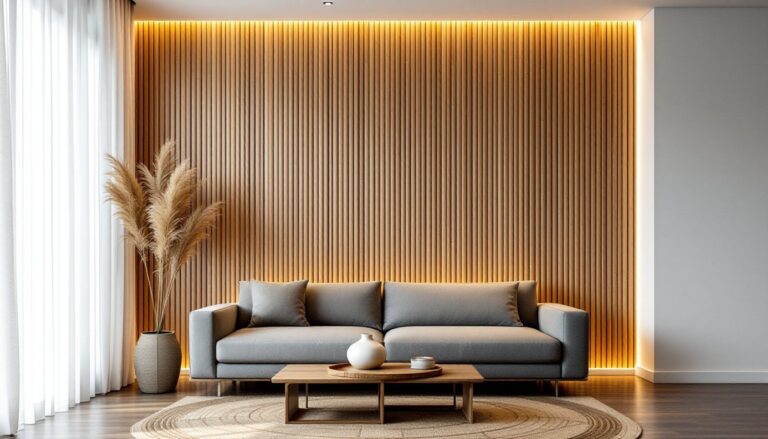
Living rooms can handle larger installations. A single 48-inch frameless round above a sofa creates a strong focal point without the visual heft of a rectangular mirror. For a more dynamic look, arrange a cluster of smaller rounds (8 to 16 inches) in an offset grid or organic scatter pattern. Keep the overall footprint roughly two-thirds the width of the furniture below it.
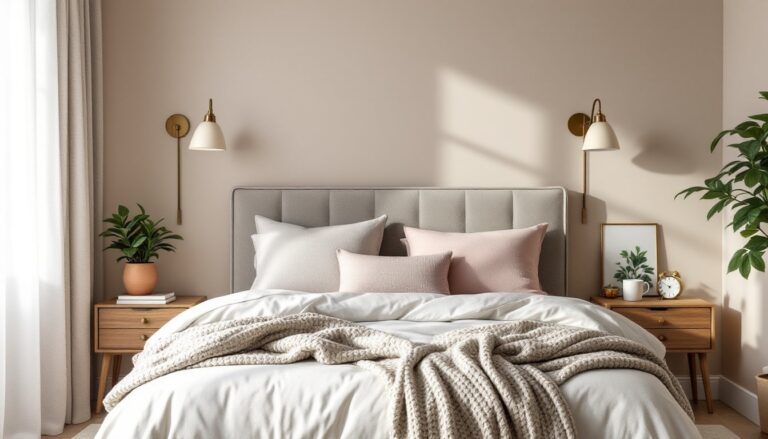
Bedrooms suit symmetrical pairs or solo statement pieces. Hanging matching 20-inch brass-rimmed circles on either side of a bed frame adds balance, especially in rooms with off-center windows. Alternatively, a large round mirror leaning against the wall on a dresser works if wall-mounting feels too permanent.
Bathrooms are natural candidates, though moisture is a consideration. Use mirrors with sealed backs or apply a protective coating to prevent silvering degradation. A 28- to 32-inch circle over a vanity provides ample reflection area, and the round shape softens the typical tile grid. Avoid placement directly above a showerhead unless the mirror is rated for high-humidity environments.
Dining rooms and home offices also work, but balance is key. In a dining room, a mirror shouldn’t compete with a chandelier: offset it to one side or use a smaller diameter. In an office, position it to reflect natural light without creating screen glare.
How to Choose the Right Size and Quantity
Start by measuring the wall space. A common mistake is choosing a mirror that’s too small, it ends up looking like an afterthought. For a solo mirror above furniture, aim for 50 to 75 percent of the furniture’s width. A 60-inch sofa pairs well with a 30- to 45-inch round.
If the mirror is going on a blank wall with no furniture below, use the wall’s proportions as a guide. On an 8-foot-wide wall, a 36- to 48-inch mirror feels appropriately scaled. Anything smaller risks looking lost: anything larger can overwhelm unless the ceiling height exceeds 9 feet.
For multi-mirror arrangements, sketch the layout on paper first or use painter’s tape to mark positions on the wall. The goal is visual cohesion without rigid symmetry. A set of seven circles might include one 16-inch anchor piece, three 10-inch mediums, and three 6-inch accents. Arrange them so the negative space between mirrors varies, some tight clusters, some breathing room.
Quantity matters less than distribution. Three well-placed mirrors can make a bigger impact than nine crammed together. As a rule, maintain at least 2 to 4 inches of space between adjacent mirrors in a cluster to avoid a cluttered look.
Consider weight, too. A 24-inch frameless mirror typically weighs 5 to 8 pounds: a 36-inch metal-rimmed version can hit 15 to 20 pounds. Drywall anchors rated for the combined load are non-negotiable, toggle bolts or molly bolts work for heavier pieces. If mounting on lath and plaster, hit a stud or use expanding anchors designed for old plaster.
DIY Installation Guide for Circle Mirror Wall Decor
Tools and materials needed:
- Tape measure and pencil
- Level (a 24-inch bubble level or laser level)
- Stud finder
- Drill with appropriate bits
- Drywall anchors (toggle bolts for mirrors over 10 lbs)
- Mounting hardware (D-rings, Z-clips, or adhesive pads, depending on mirror type)
- Safety glasses and gloves
Step-by-step process:
-
Plan the layout. Use painter’s tape or paper templates cut to the mirror’s diameter. Adjust until the arrangement feels balanced. Step back several feet to check proportions.
-
Mark the center point. For a single mirror, measure up from the floor to the desired height (usually 60 to 65 inches to the center for eye-level placement). Mark lightly with a pencil.
-
Locate studs. Run a stud finder along the wall. If a stud aligns with your mark, great, use a wood screw directly into it. If not, you’ll need drywall anchors.
-
Install mounting hardware. For D-ring or sawtooth hangers on the mirror’s back, measure the distance from the top edge to the hanger. Subtract that distance from your center mark to find where the screw or anchor should go. Drill a pilot hole, insert the anchor (if needed), and drive the screw, leaving about 1/4 inch protruding for the hanger to catch.
-
Hang and level. Lift the mirror onto the screw. Use a level to check alignment: adjust by shifting left or right on the hanger. For adhesive-mount mirrors, peel the backing and press firmly for 30 seconds, ensuring the wall surface is clean and dry first.
-
Multi-mirror clusters. Start with the largest or central piece. Hang it first, then work outward, referencing your tape layout. Re-check level and spacing after each addition.
Safety note: Always wear safety glasses when drilling into walls, drywall dust and plaster chips can irritate eyes. Gloves protect against sharp mirror edges during handling.
Avoid hanging heavy mirrors on solely adhesive pads unless the manufacturer’s weight rating exceeds the mirror’s actual weight by at least 50 percent. Adhesive can fail over time, especially in humid or temperature-variable rooms. When in doubt, use mechanical fasteners.
Styling Tips to Maximize Visual Impact
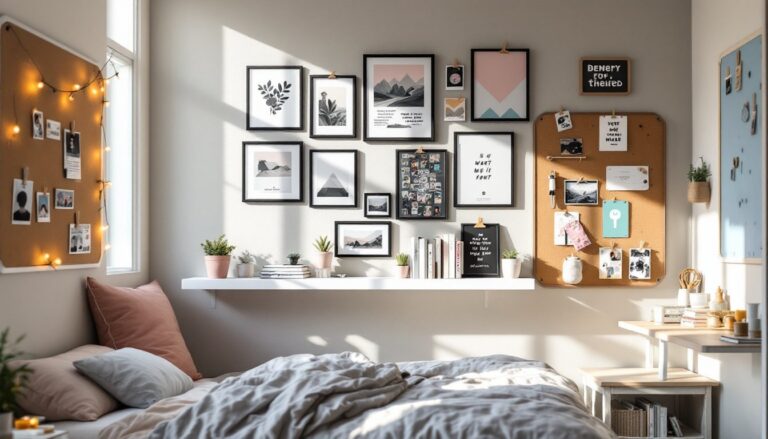
Layer with other decor. Circle mirrors don’t have to fly solo. Pair them with framed art, floating shelves, or wall sconces to create a curated wall decor arrangement. Just ensure the mirror remains the focal point, surround it with smaller or lower-contrast pieces.
Use lighting strategically. Position mirrors to capture and reflect light sources. A round mirror opposite a window amplifies natural light: one adjacent to a table lamp redirects warm evening glow. Wall-mounted sconces flanking a mirror add both task lighting and symmetry. According to mirror placement principles, avoid reflecting clutter or unattractive views, what the mirror shows is as important as the mirror itself.
Play with finish and texture. Mixing metal finishes, say, a brass-rimmed circle with black metal wall hooks, adds depth without chaos, as long as one finish dominates. Combining a frameless beveled mirror with a chunky rattan-wrapped round creates textural contrast that keeps the eye moving.
Mind the reflection. Before finalizing placement, stand where you’ll typically view the mirror and note what it reflects. A mirror that bounces back a cluttered closet or blank wall wastes potential. Angle it (if mounted on an adjustable bracket) or shift position to capture something visually appealing, a piece of art, a window view, or a well-styled shelf.
Avoid overdoing symmetry. Perfect grids can feel sterile. Offset clusters or slightly varied heights between paired mirrors introduce an organic, lived-in quality. Inspiration from sites focused on DIY decor projects often showcases asymmetric layouts that feel both intentional and relaxed.
Keep it clean. Mirrors collect dust, fingerprints, and hairspray residue. Use a microfiber cloth and a 50/50 mix of white vinegar and water for streak-free cleaning. Avoid ammonia-based cleaners on mirrors with metal frames, they can corrode brass or damage protective coatings. Wipe down weekly if the mirror is in a high-traffic area like an entryway or bathroom.
Conclusion
Circle mirror wall decor offers a rare combination of versatility, function, and timeless appeal. With the right sizing, placement, and installation approach, these mirrors can open up cramped rooms, amplify light, and anchor a wall without the commitment of paint or wallpaper. Whether someone opts for a single statement piece or a curated cluster, the key lies in thoughtful planning and solid mounting technique, skip the guesswork, use the right hardware, and the result will look polished and intentional for years.